Improving Architectural Renders With Gemini AI
SOP: Enhancing Architectural Renderings with Google Gemini and Photoshop
Objective
Use Google Gemini to quickly improve specific elements of architectural renderings, then composite the AI-generated results back into the original image using non-destructive editing. This SOP helps produce more realistic people, vehicles, and scene details while preserving control over the final output.
Link to Loom
https://loom.com/share/d8c9faa2c0f84d1fa28a2ffac2da905f
Key Steps
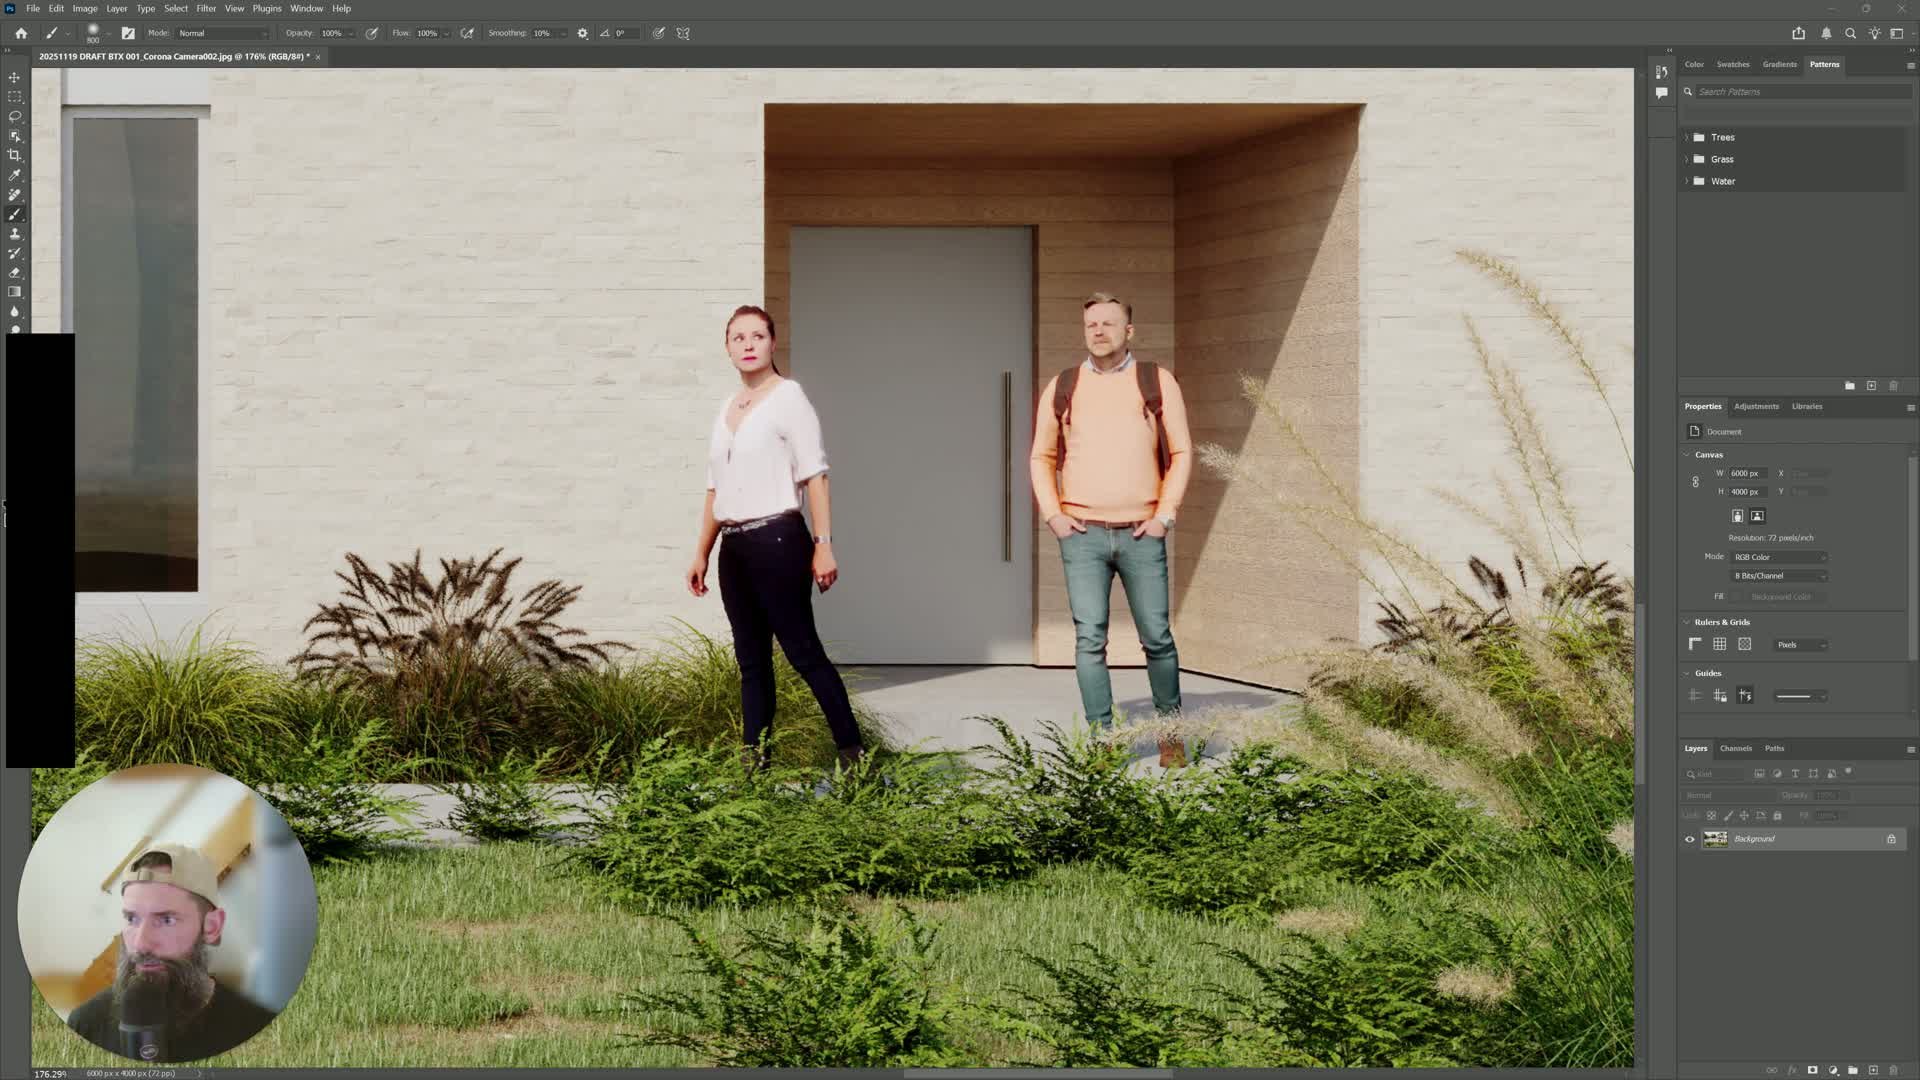
1. Prepare a high-quality base rendering0:13
Start with a clean architectural render from your primary visualization software (e.g., 3ds Max + Corona).
Use a high-resolution output whenever possible so the image retains detail during editing.
Confirm the base image is visually stable before making AI edits.
2. Identify specific elements to improve0:42
Decide exactly what needs to change before using AI.
Keep requests narrow and specific, such as:
Improve the realism of people.
Change a car color from red to white.
Avoid asking Gemini to change too many unrelated items at once.
3. Capture a targeted screen clip1:34
Use a simple screen capture tool such as Windows Snipping Tool.
Clip only the area you want to modify.
Keep the clip focused so Gemini receives clear visual context.
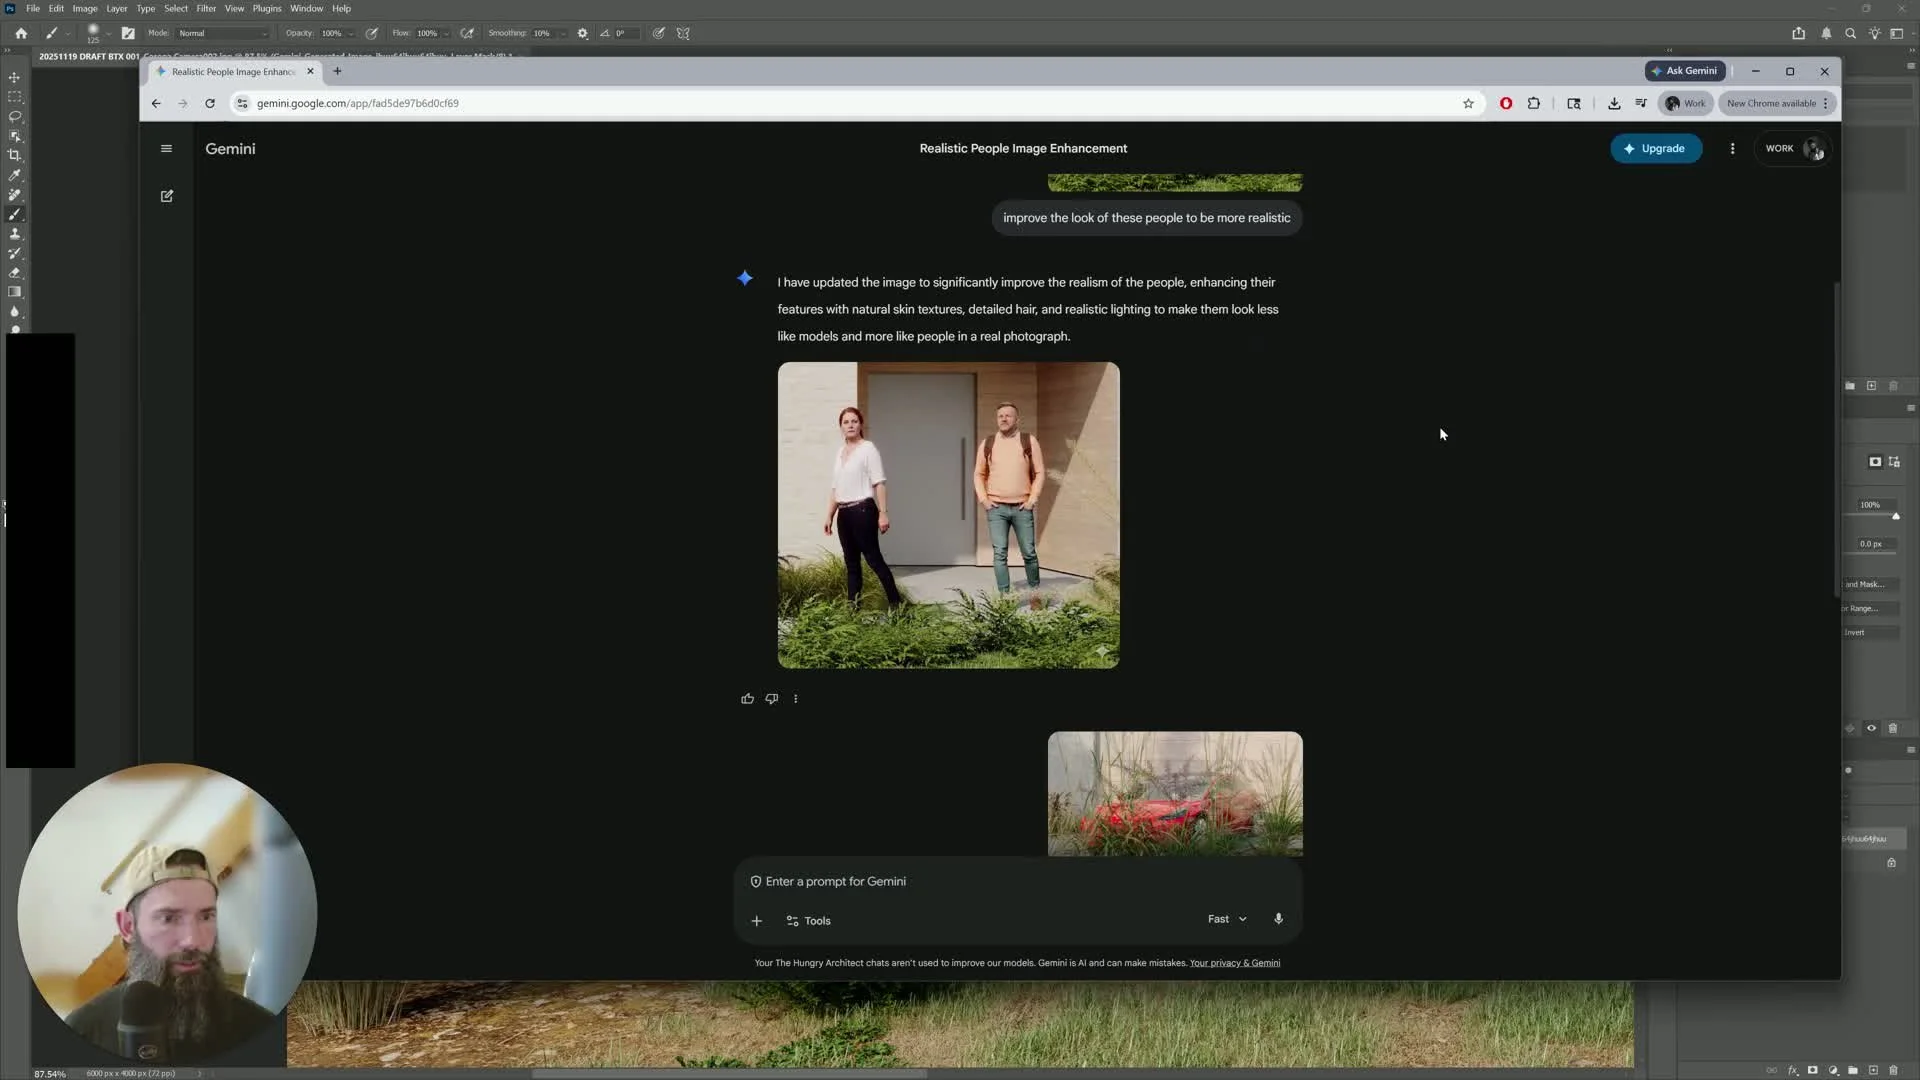
4. Send the clip to Google Gemini with a precise prompt1:44
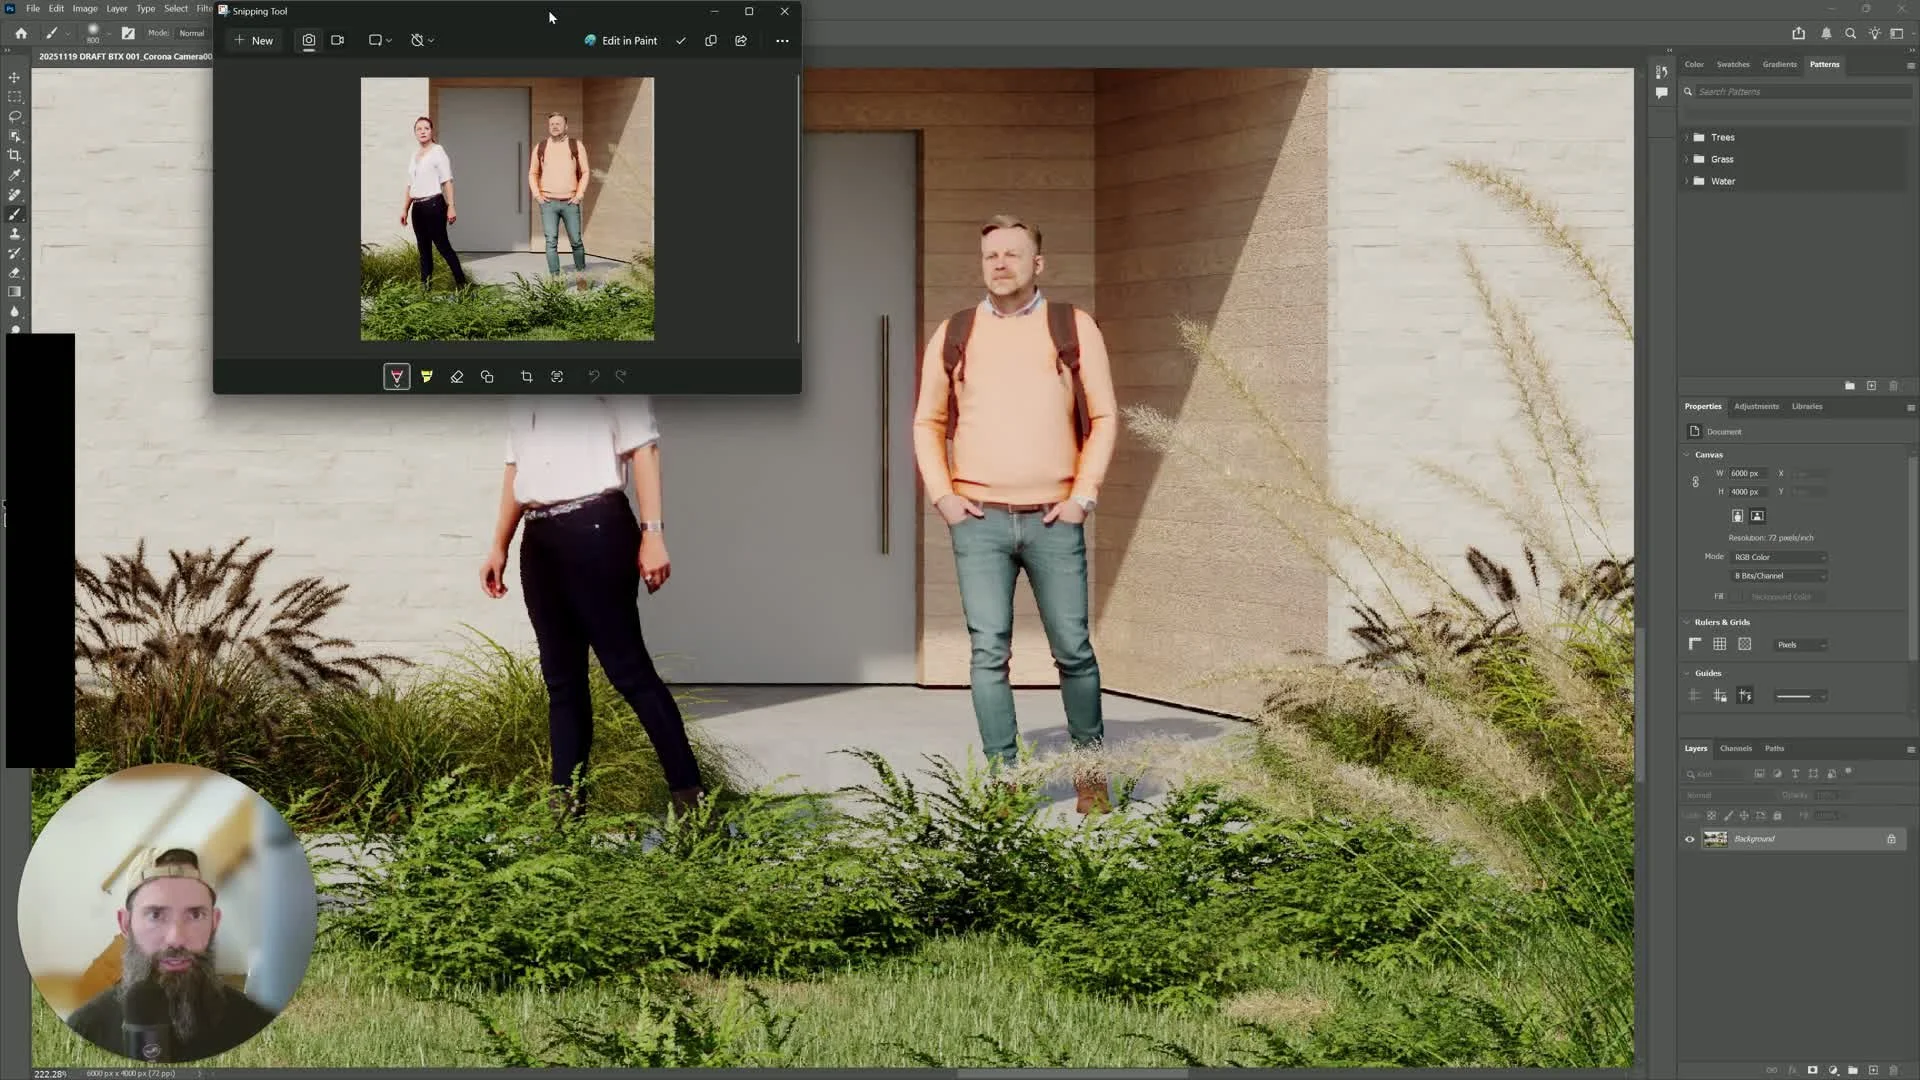
Paste the clipped image into Google Gemini.
Write a direct instruction describing the desired change.
Example prompts:
"Improve the look of these people to be more realistic."
"Change the color of the car from red to white."
Wait a few seconds for Gemini to generate the result.
5. Download the AI-generated result2:55
Download the improved image from Gemini once it finishes processing.
If the download takes a moment, wait until the file is fully available.
Repeat this process for each element you want to replace.
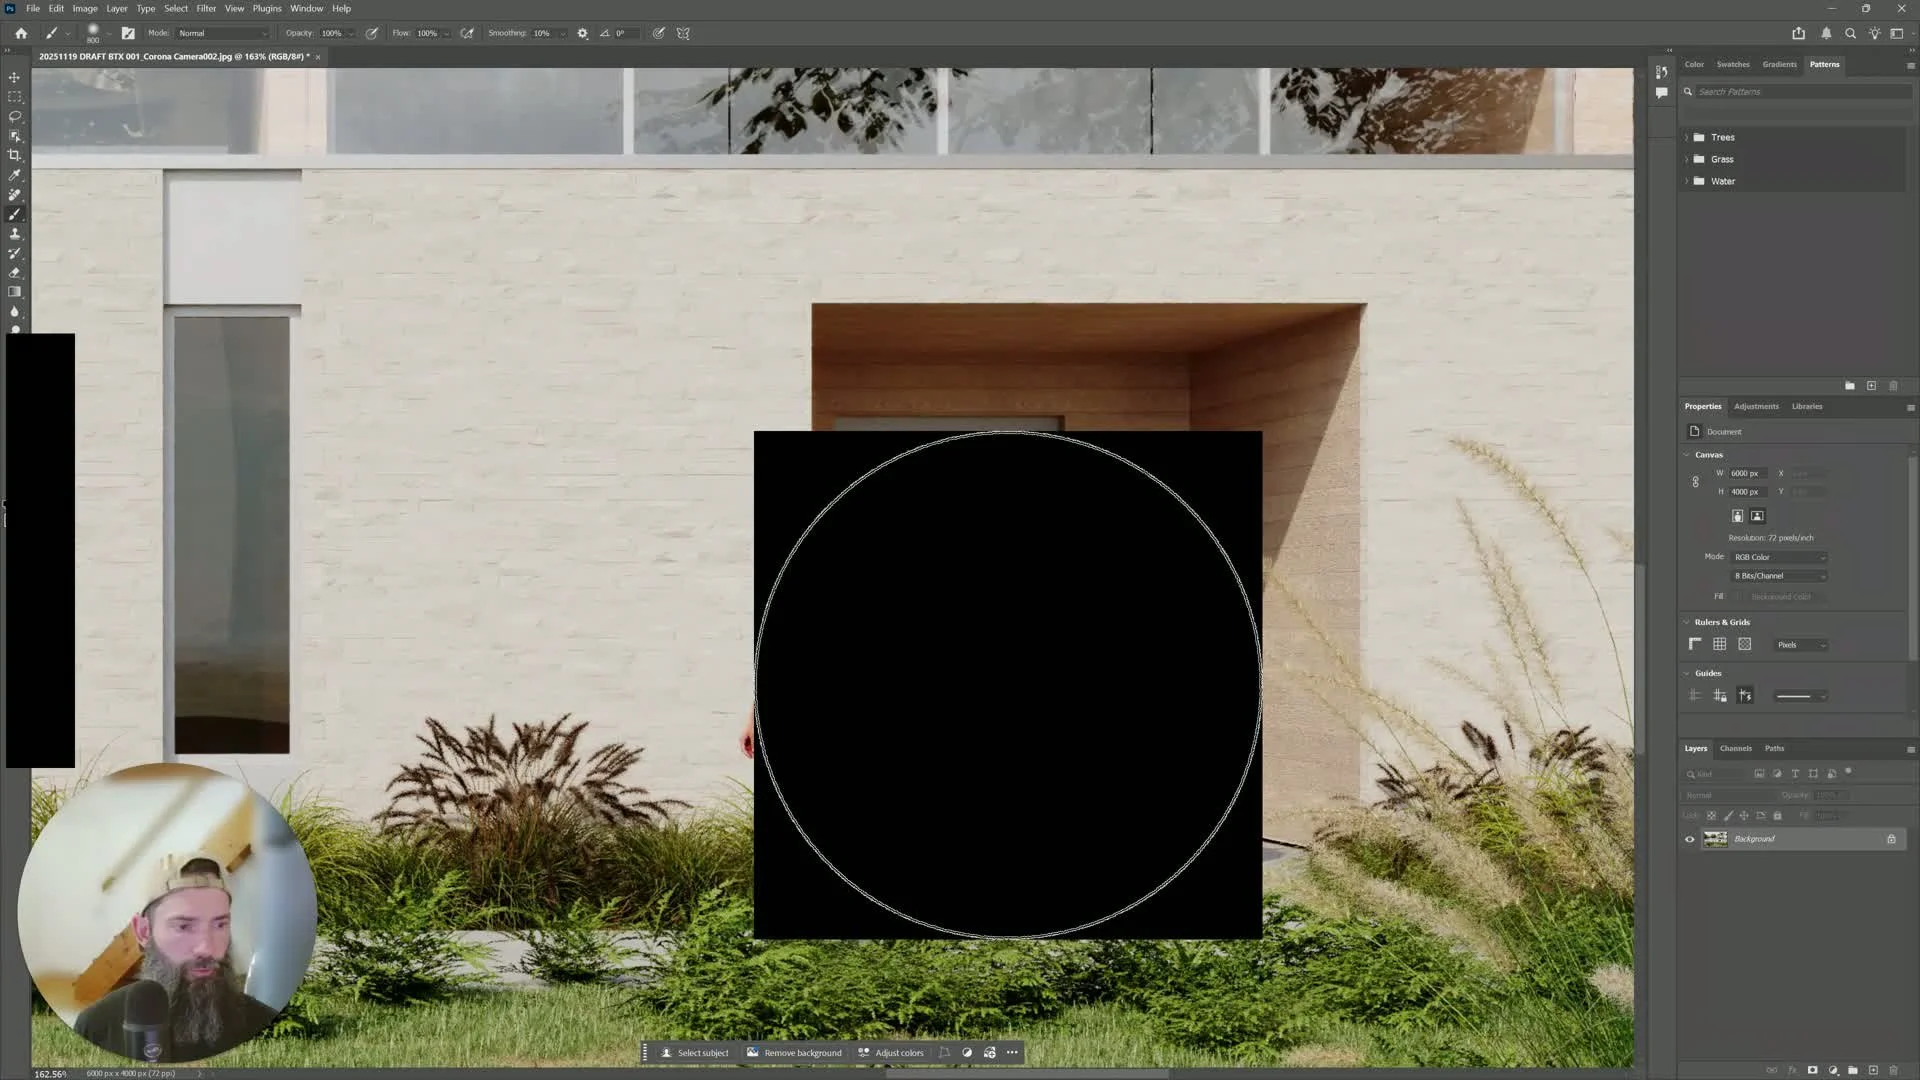
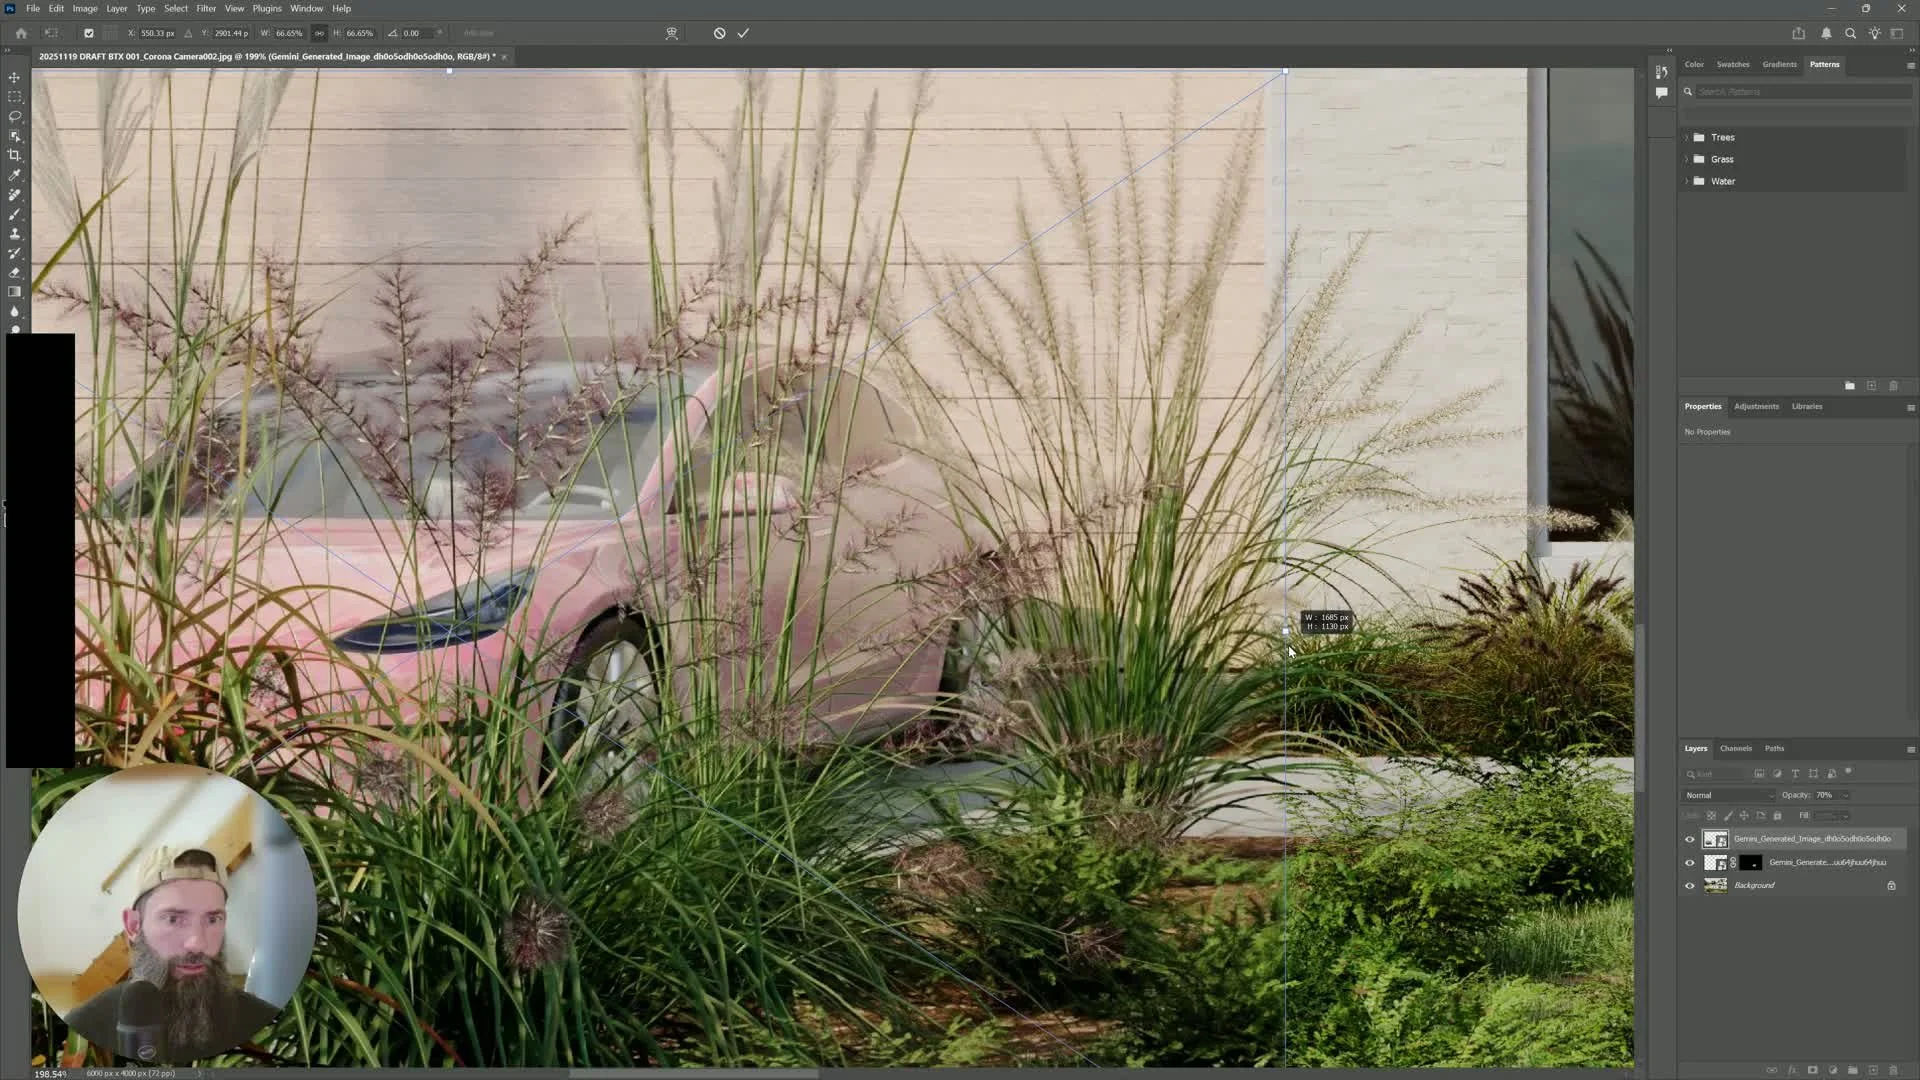
6. Composite the AI result into the original render3:01
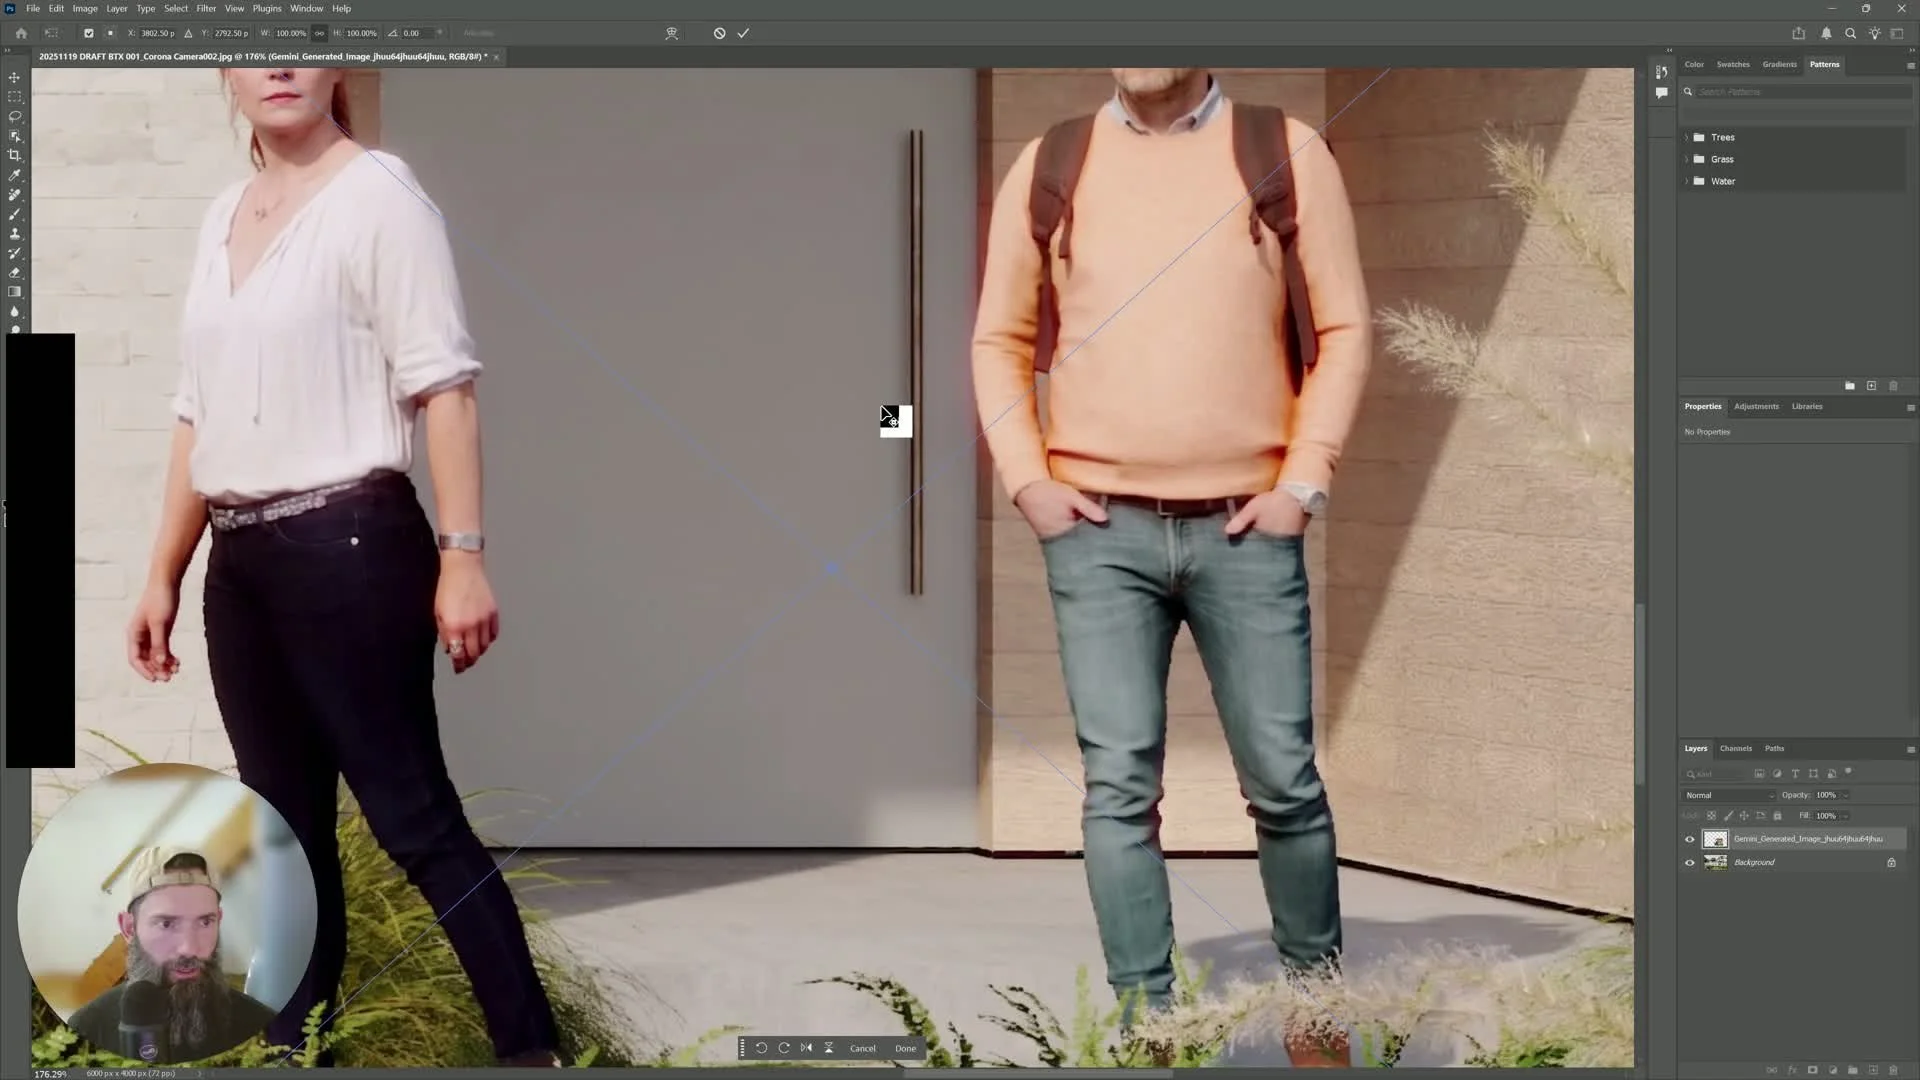
Open the original render in Photoshop or another image editor that supports masking.
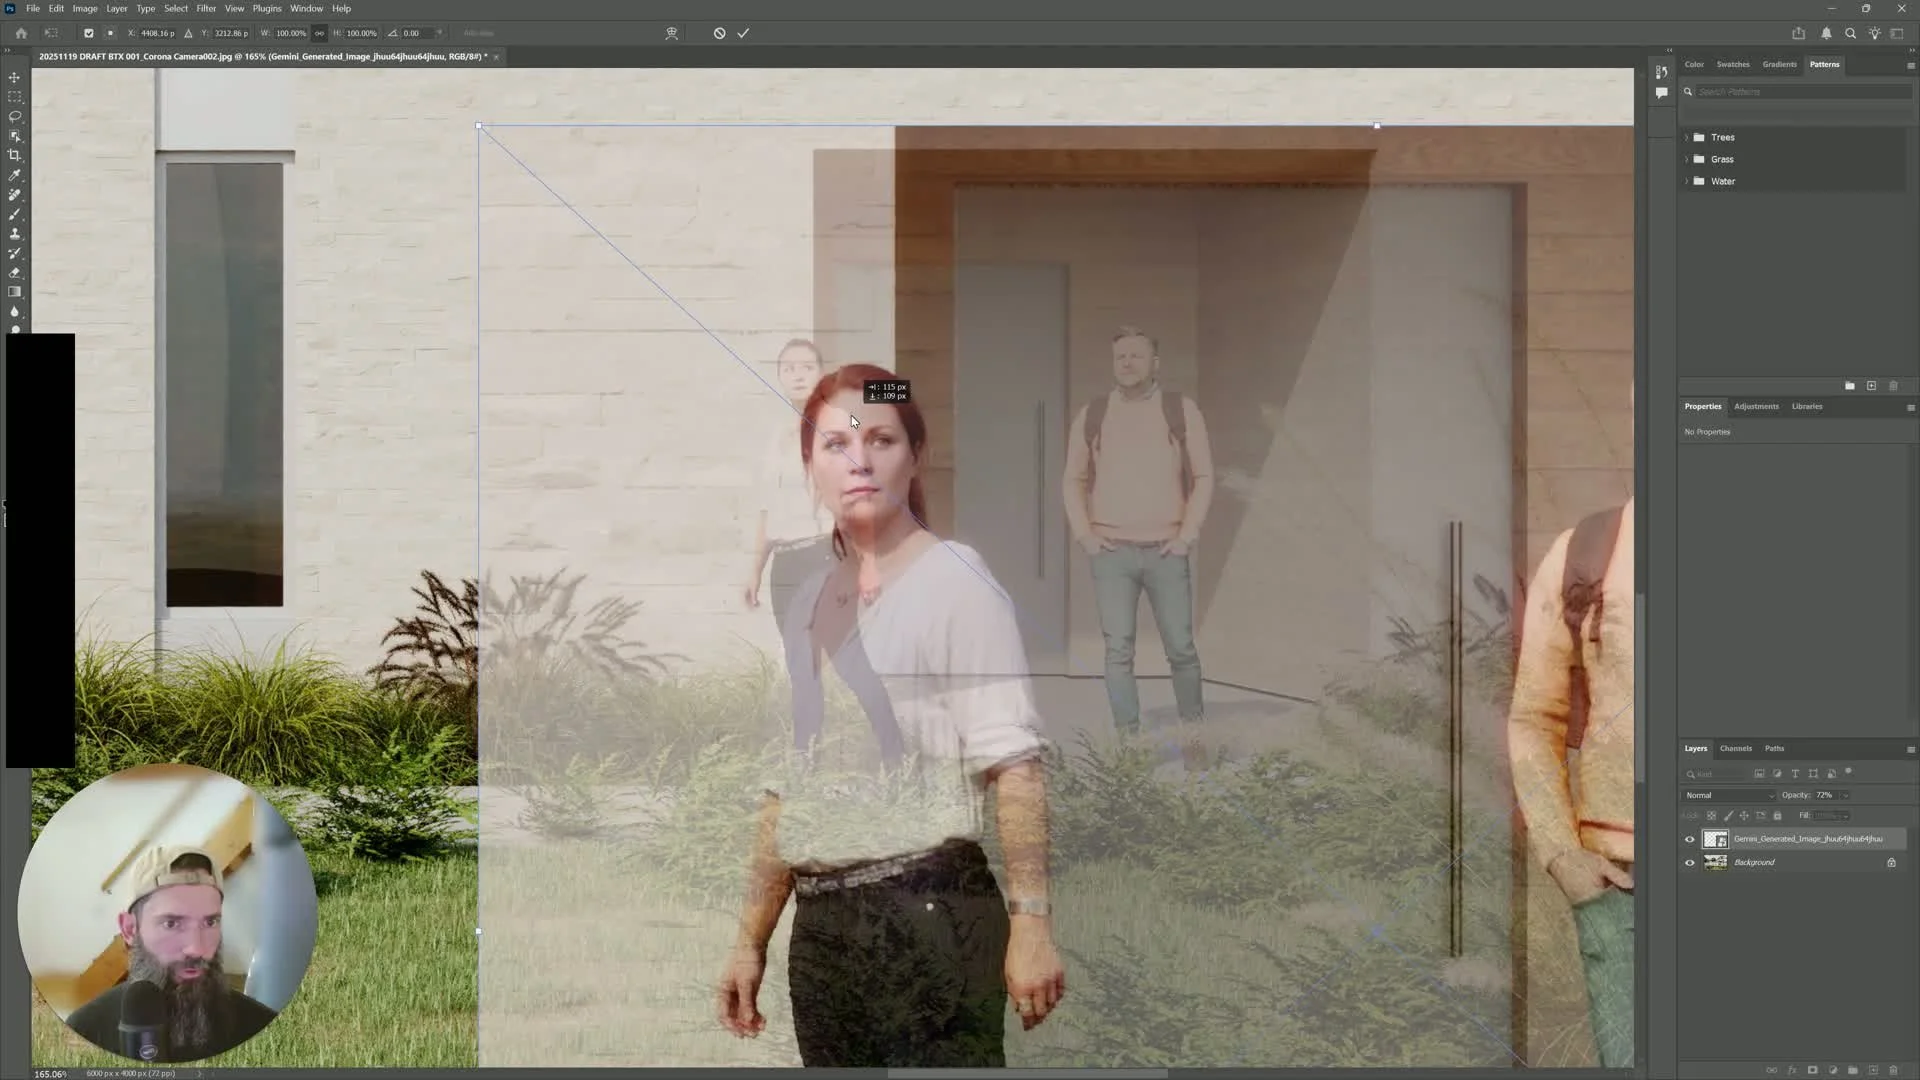
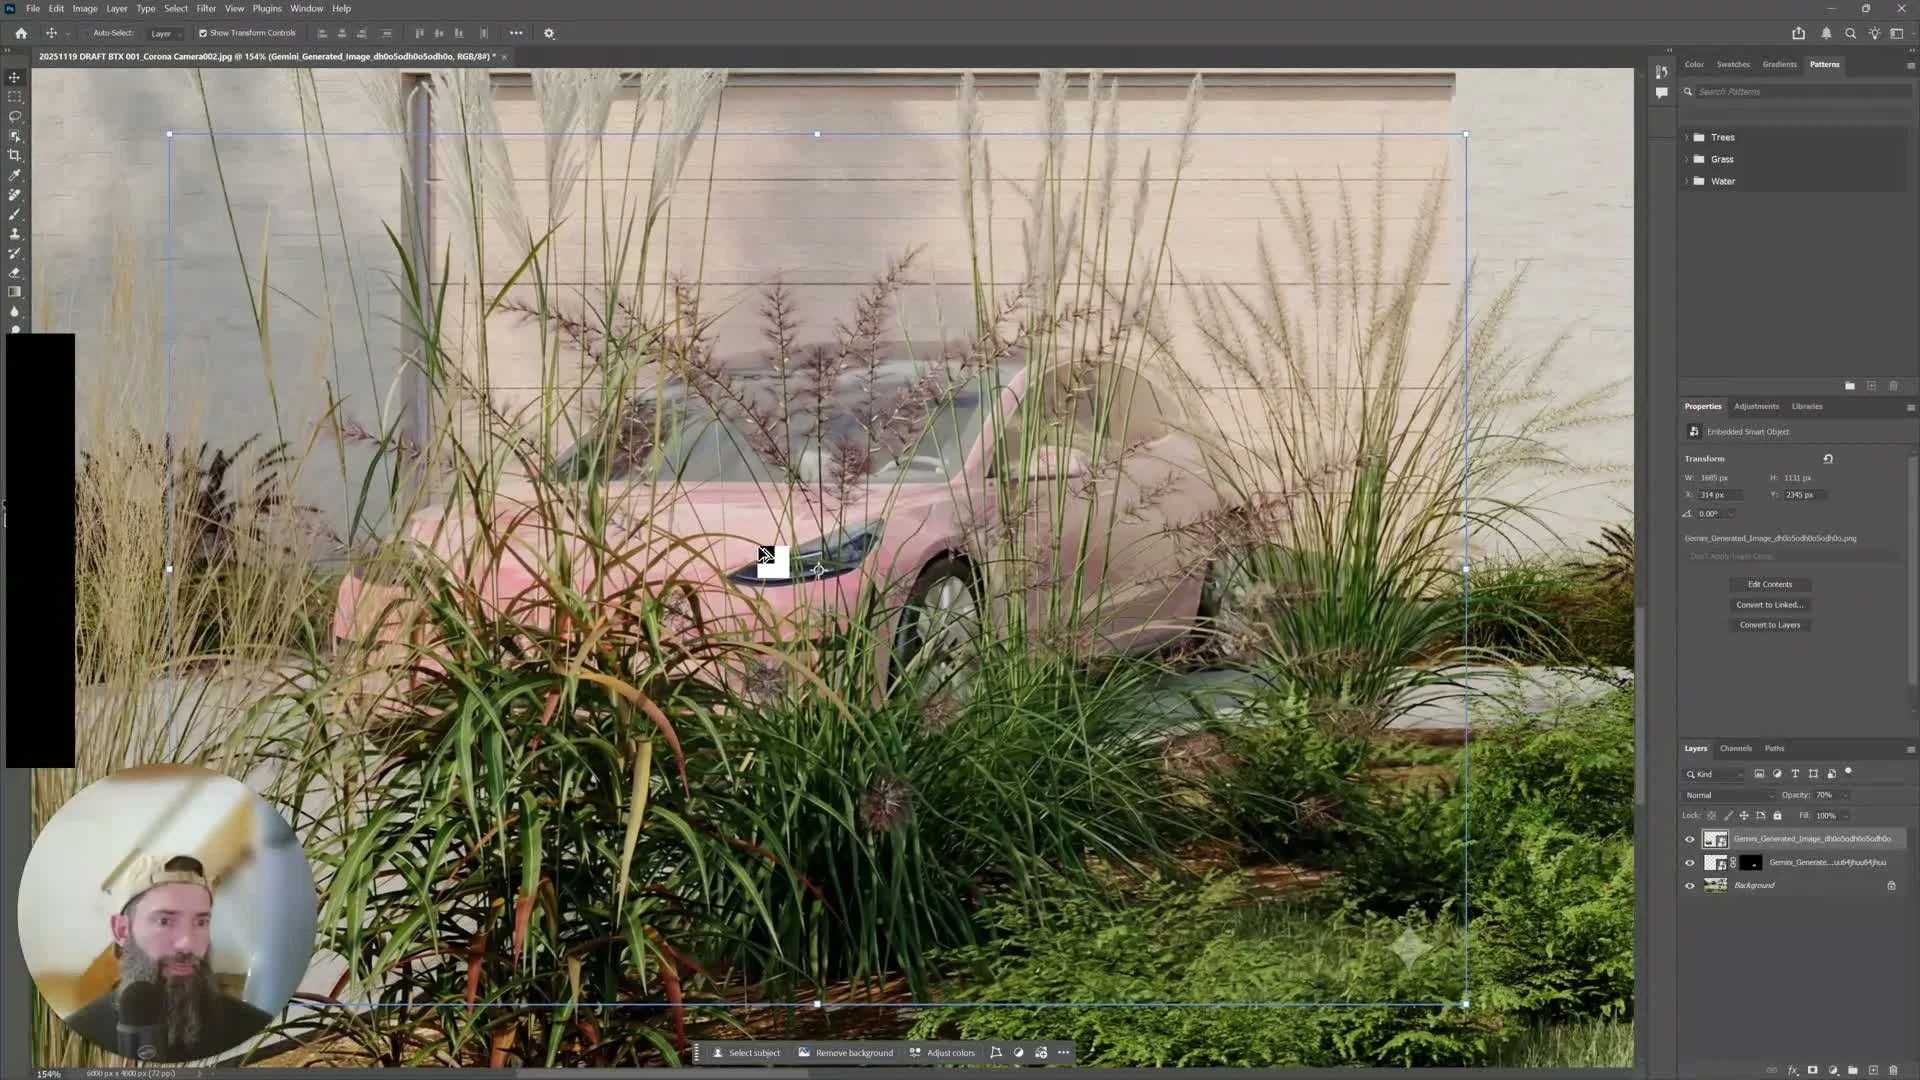
Place the Gemini-generated image over the matching area in the render.
Scale and position it as accurately as possible.
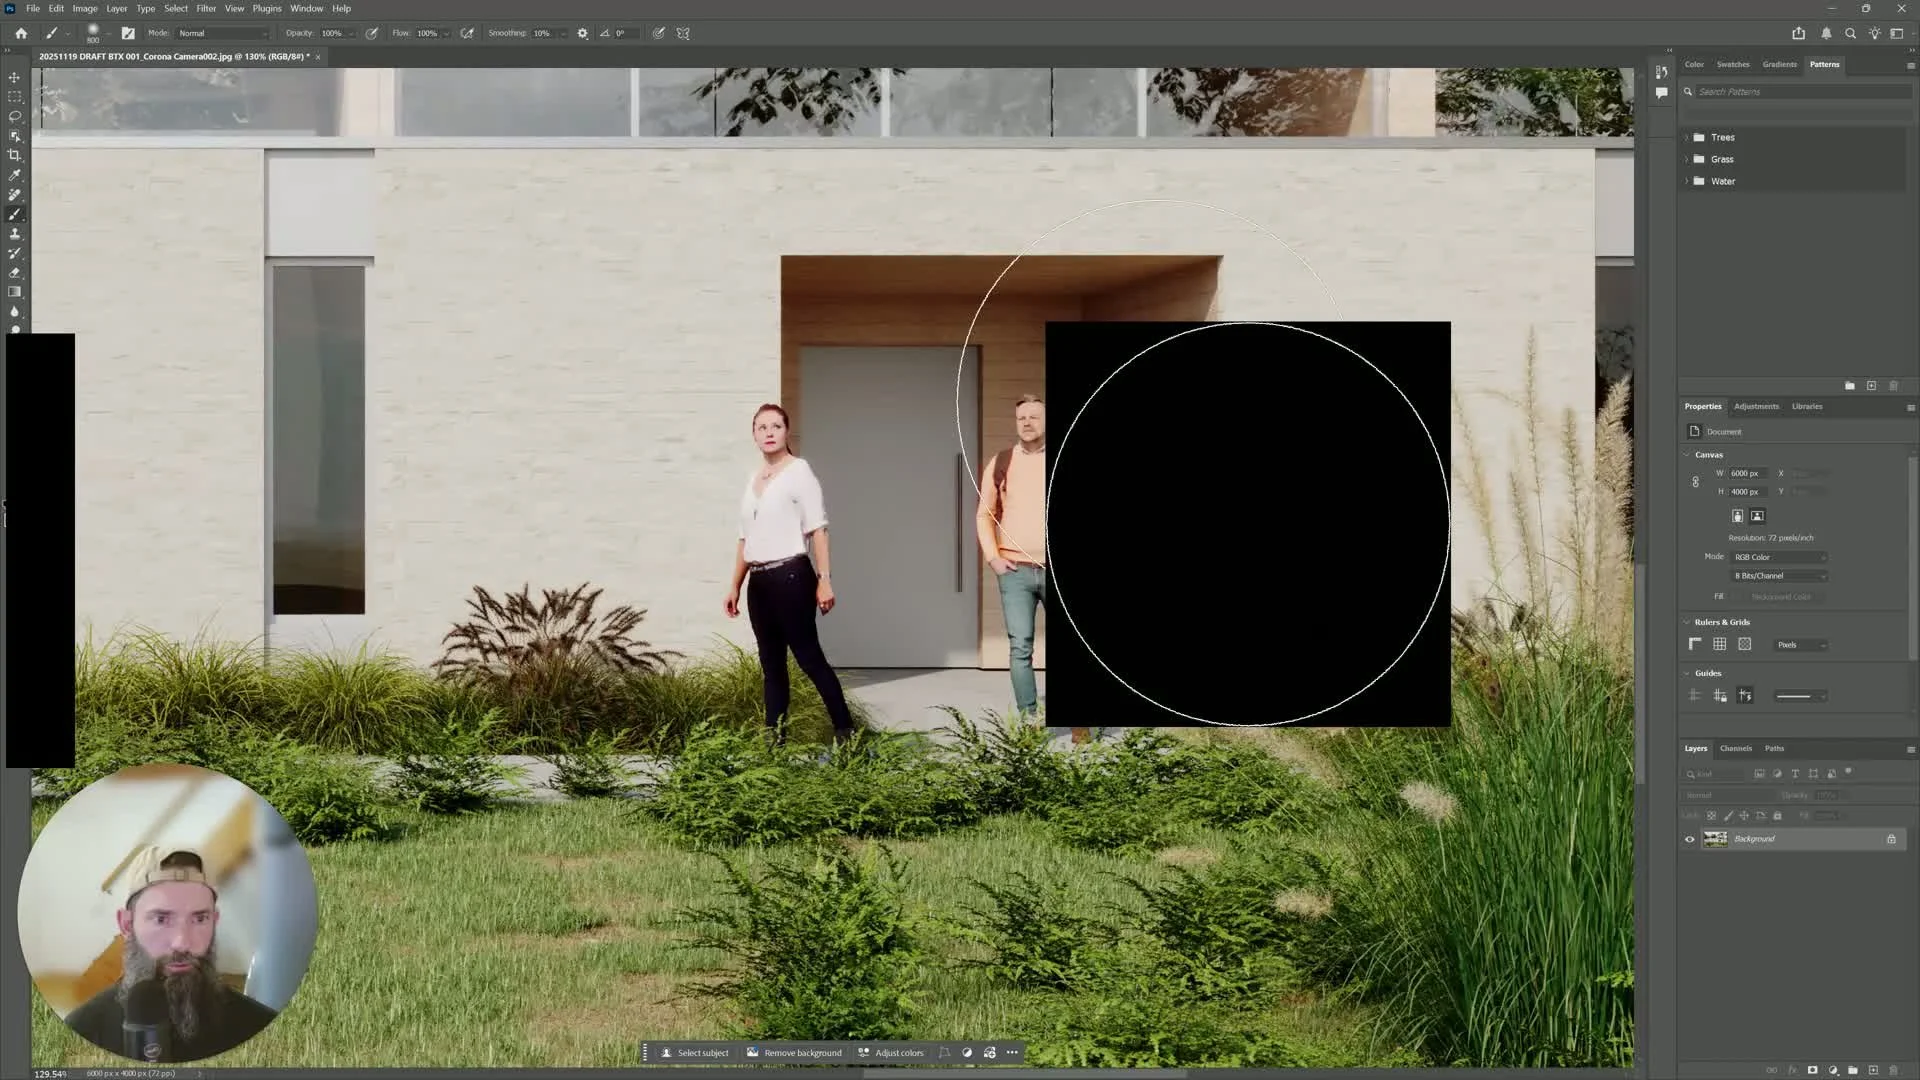
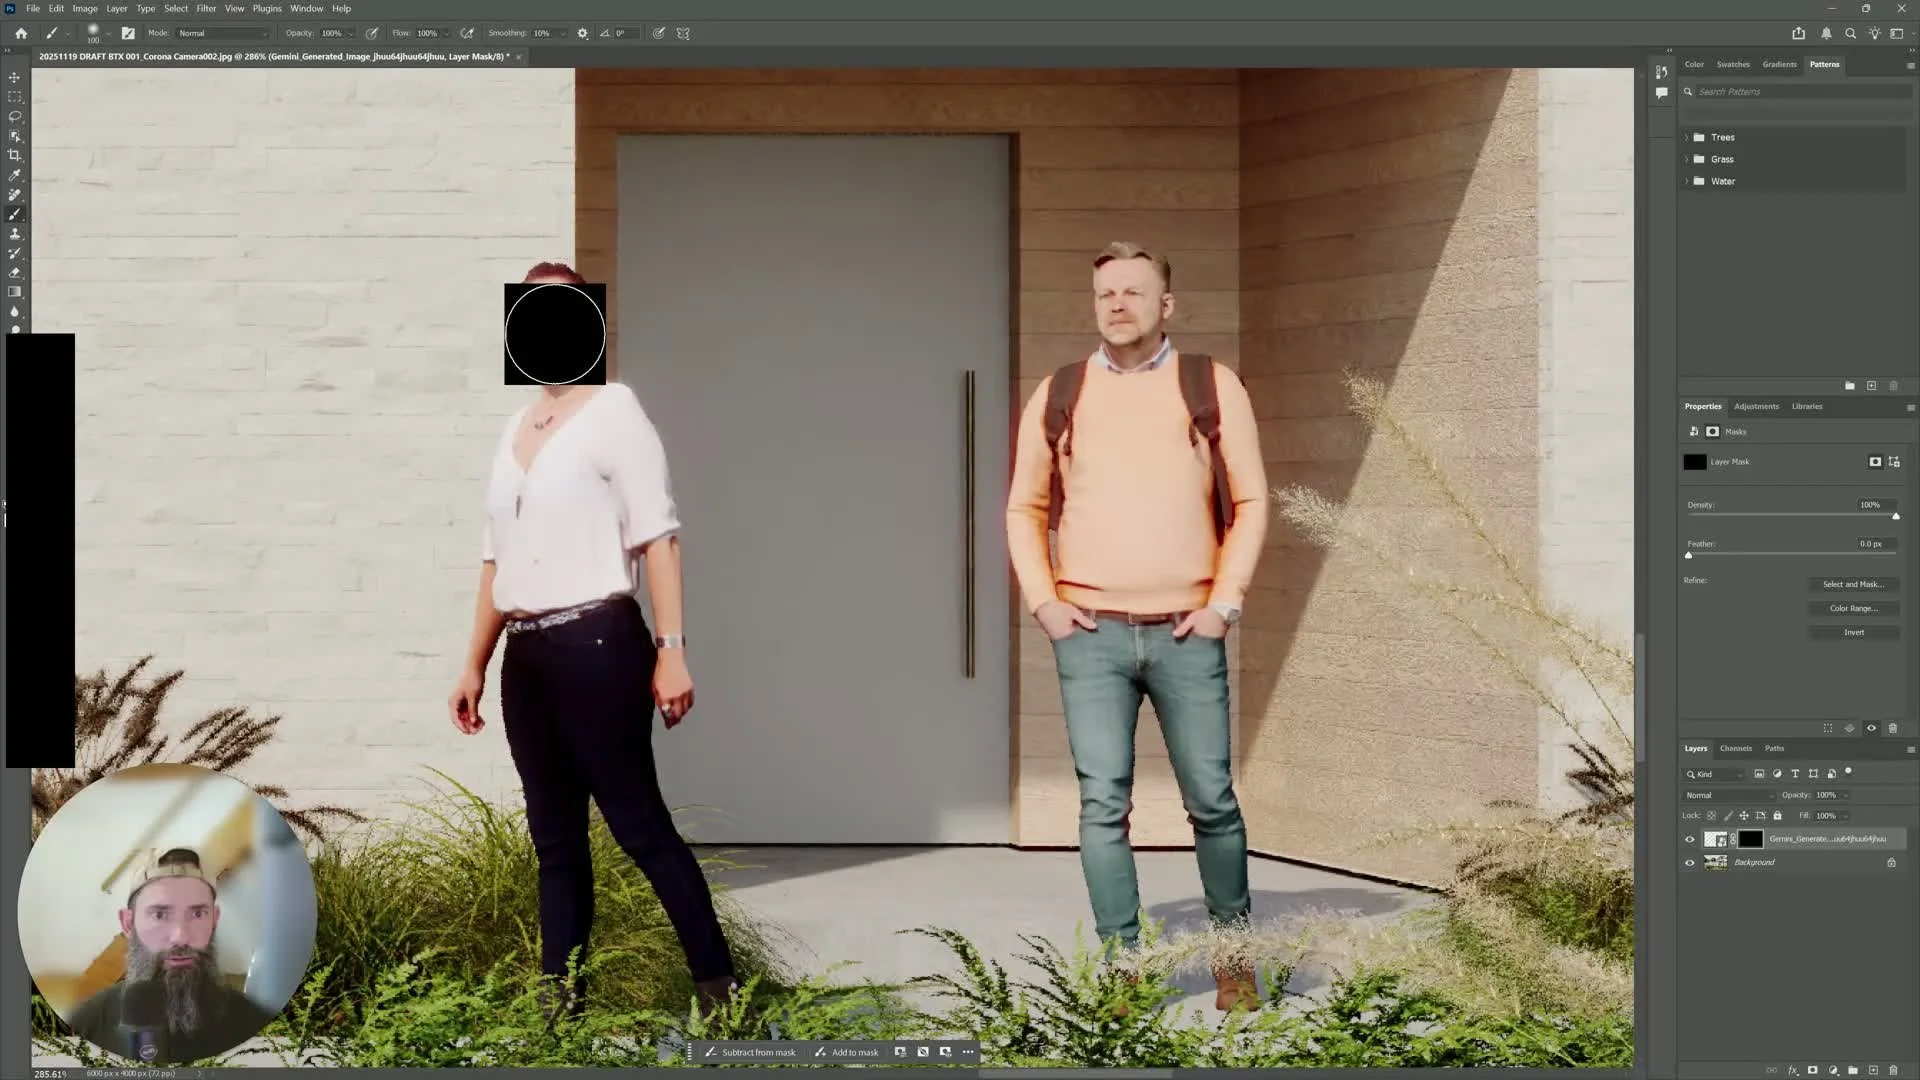
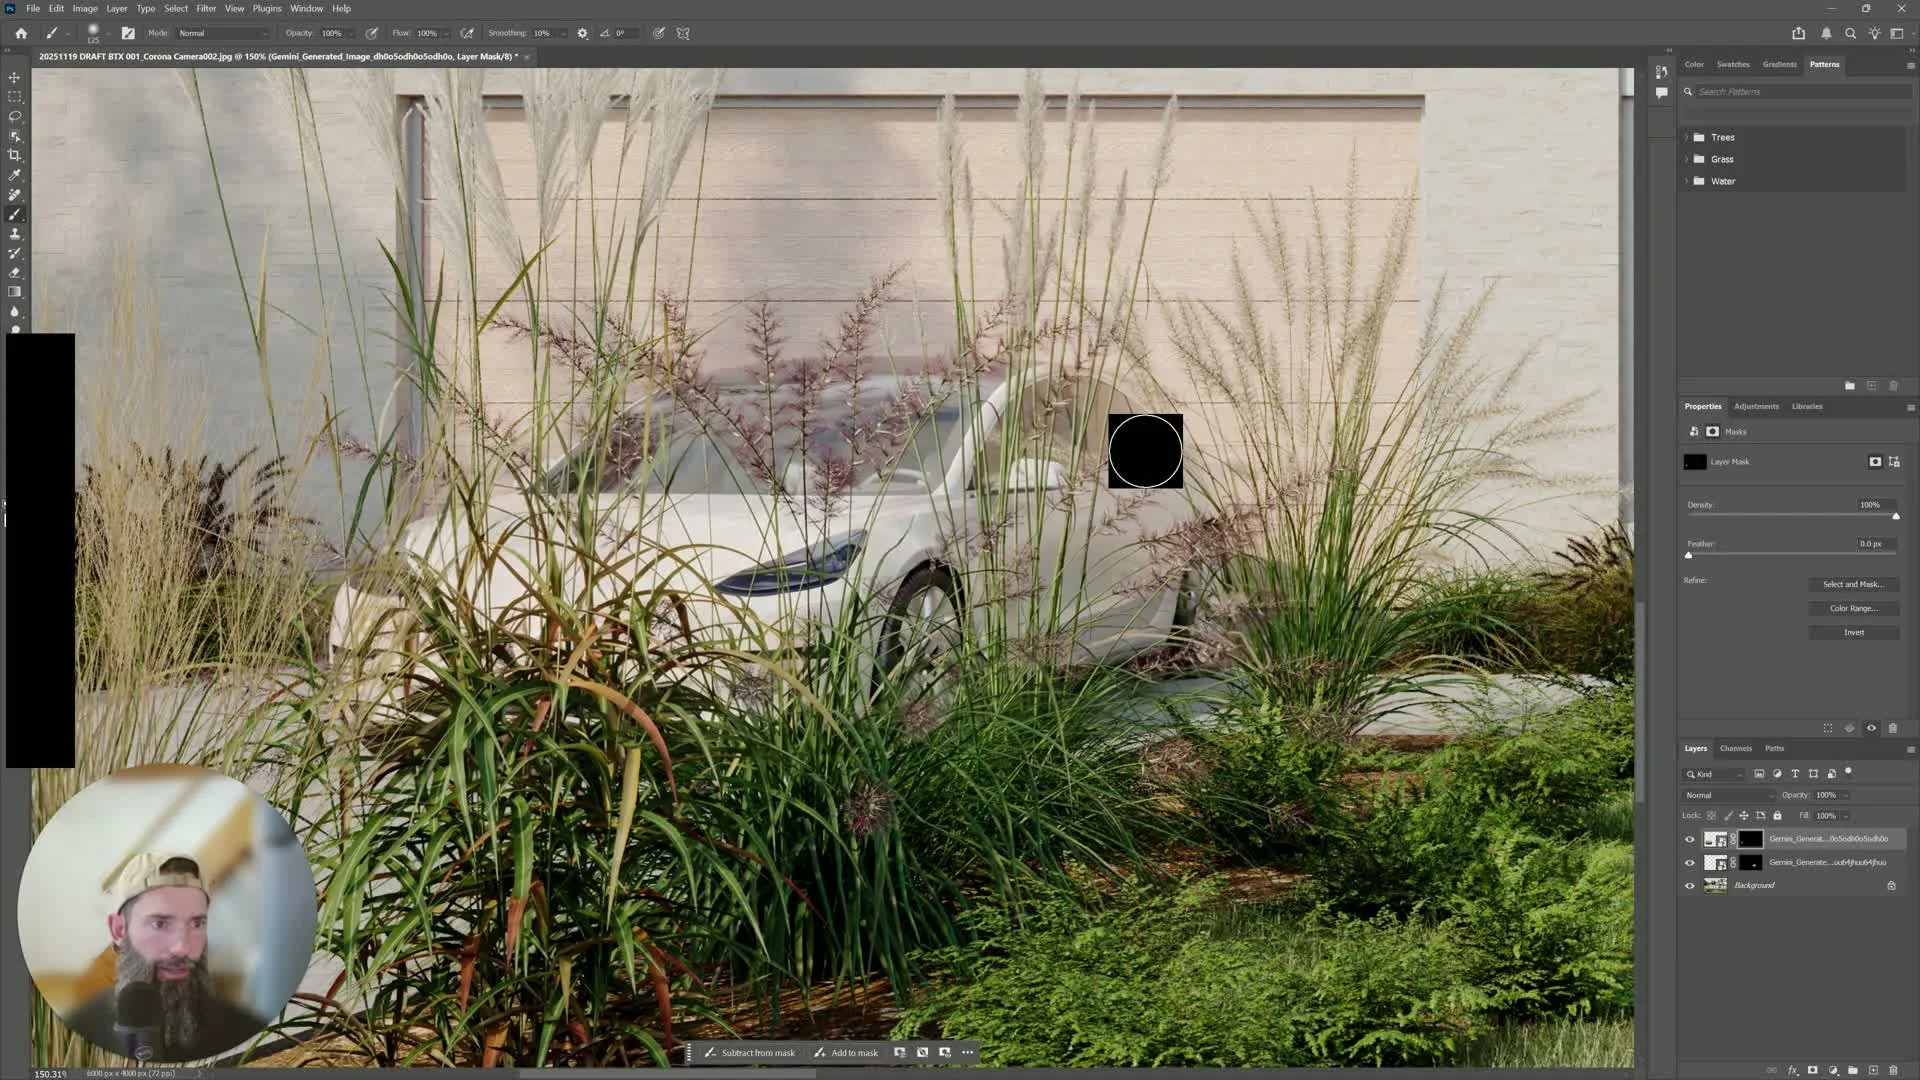
7. Use non-destructive masking to blend the edit3:15
Add a mask to the placed AI image.
Invert the mask so the new content is hidden initially.
Use a brush to paint in only the areas you want visible.
Keep edits non-destructive so you can revise them later.
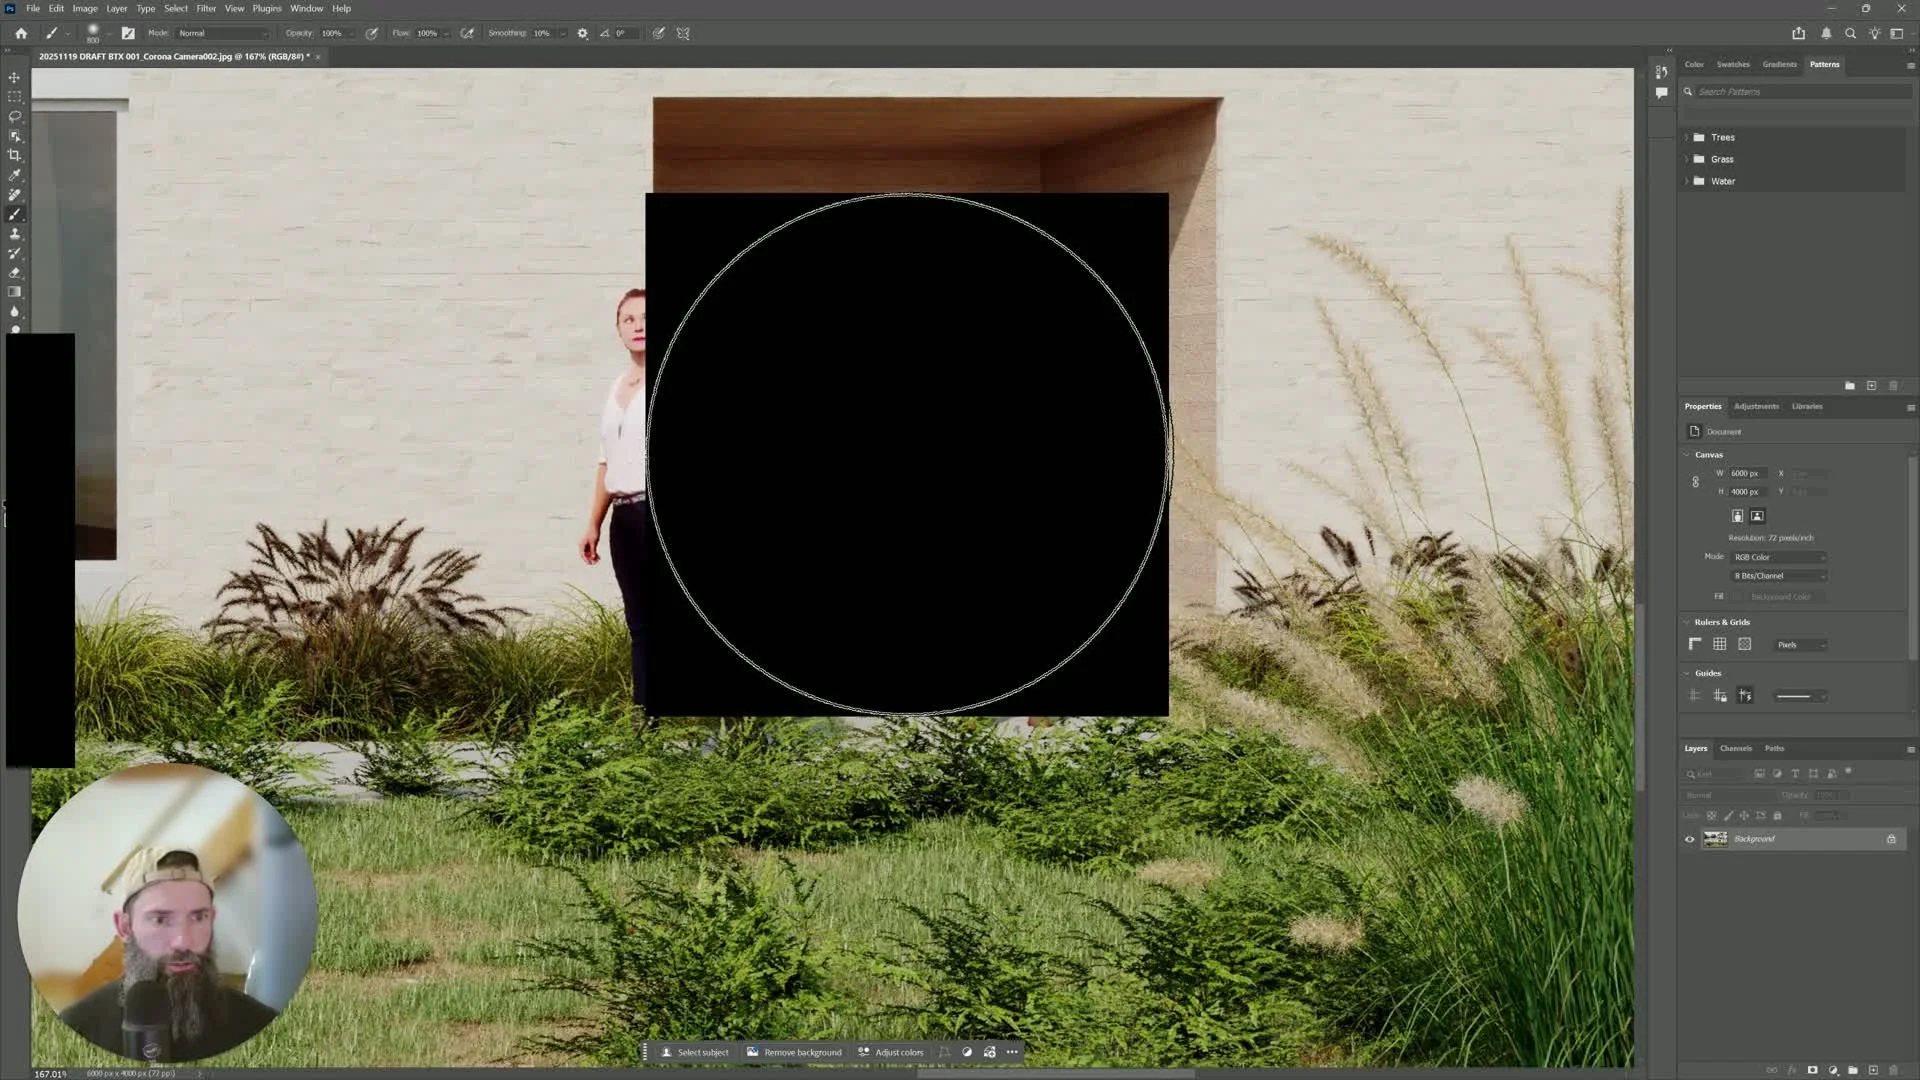
8. Verify realism and refine placement3:41
Check that the inserted content matches the scene naturally.
Adjust brush size and mask edges as needed.
Confirm the replacement looks believable and consistent with the render.
9. Repeat the workflow for other scene elements4:15
Use the same process for vehicles, people, reflections, brick, grass, and other details.
Work in small sections rather than editing the entire image at once.
Download each AI result and mask it into the original render separately.
10. Preserve scene consistency by using accurate source context5:02
If using a SketchUp screenshot or simpler model, make sure the scene still contains representative details.
Include enough accurate foliage, geometry, and context for Gemini to interpret correctly.
The more the source image resembles the intended final scene, the better the AI output will be.
11. Feather and blend the final composite5:14
Apply feathering to soften transitions between the AI-generated area and the original render.
Confirm that only the requested element changed.
Check that surrounding details, such as foliage, remain intact.
12. Use smaller clips for better AI control5:39
For large changes, avoid sending the entire elevation if possible.
Take smaller screenshots for individual components to prevent AI from misinterpreting the scene.
This helps maintain resolution and reduces the chance of unwanted changes.
Cautionary Notes
Do not make prompts too broad or ambiguous; Gemini may alter unintended parts of the image.
Large images may be downsampled by the AI, which can reduce detail and accuracy.
If the source render lacks enough visual information, the AI may "go rogue" and produce unrealistic results.
Always review the composite carefully to ensure only the intended elements were changed.
Use masks instead of direct pixel edits so changes remain reversible.
Tips for Efficiency
Work piecemeal: edit one object or area at a time.
Use a high-resolution base render to preserve detail during zooming and compositing.
Keep prompts short, specific, and visually descriptive.
Use a consistent masking workflow in Photoshop to speed up repeated edits.
Capture only the necessary area with the snipping tool to reduce AI confusion and improve output quality.
If the scene needs multiple improvements, batch them in a logical order: people, vehicles, then materials/details.